
Fieldcraft
Take a photograph that helps identification
Capture structure and context without trading the bird’s welfare for an image.
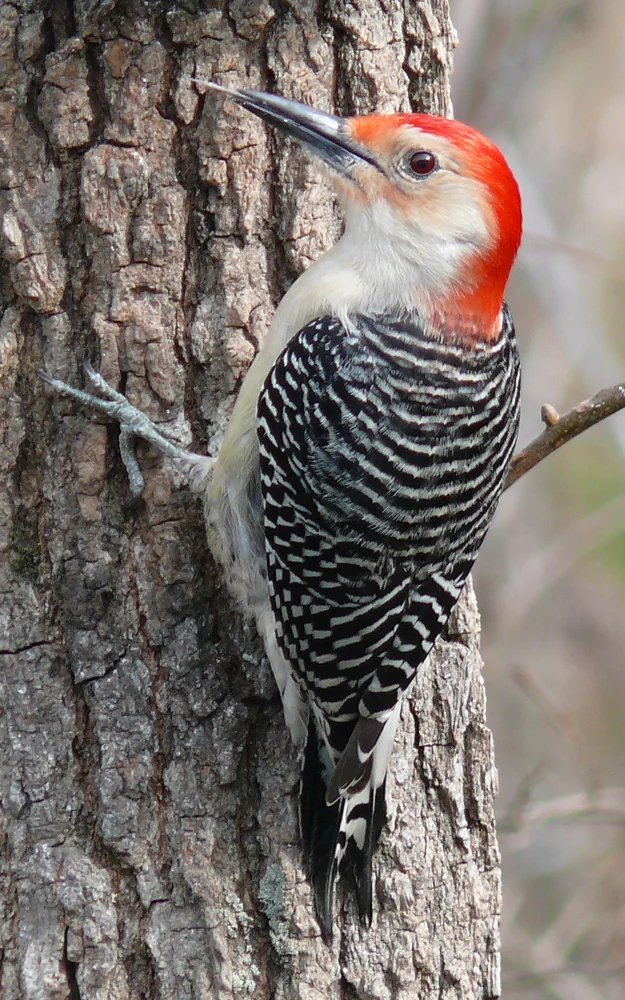
A photograph that helps identify a bird can look quite ordinary. It may show an awkward perch, a distant subject or a partly obscured view. The question is whether it preserves a useful feature from the encounter. Start by thinking about the evidence you need, then take the available photograph from a position that allows the bird to continue its activity.
A camera and binoculars serve different roles. Watching helps you understand movement, sound and the broader scene. A photograph preserves one angle at one moment. Use them together when practical, and allow either to remain incomplete. Pursuing an image can cost you the very observation that would have clarified the bird’s identity, particularly during a brief encounter.
Begin with a safe, permitted position
Before raising the camera, check your footing and the space around you. Remain on the permitted route and leave room for other visitors. A bird moving toward a nest, feeding young or repeatedly reacting to your approach needs additional space. A long lens does not automatically remove disturbance if your presence blocks the bird’s route or keeps it alert.
Keep the opportunity small. You can photograph a bird from where you are and accept the result, wait for a natural turn or simply continue watching. Avoid arranging branches, drawing a bird into view with sound, or following it through cover for a better background. The evidence is most useful when it represents the encounter you actually had.
Secure a whole-bird frame
If the bird is visible, an initial frame containing its full body can preserve proportions that a tight portrait loses. Include the bill and tail when possible. Those parts may become important during comparison, even if you first noticed a colorful head patch. A little space around the bird also gives room to understand its posture and perch.
Check the frame briefly only when the situation allows. If you spend the entire encounter reviewing the camera screen, you may miss a turn or flight that reveals another feature. The first image establishes what was available at that moment. You can improve the record with a different view if one occurs naturally, while retaining the original frame.
Choose an additional angle for a reason
Ask which feature remains unresolved. A side profile can expose bill length, a rear view can show back pattern, and a natural flight may reveal wing or tail markings. A second photograph is especially useful when it supplies that missing information. Many nearly identical images of a hidden flank leave the same question unanswered.
Keep track of individual birds when several move together. A brown bird photographed at one end of a feeder and a red bird photographed seconds later may be different individuals. Do not combine their features into one description. If you lose track, label the sequence accordingly. The images can remain informative without proving that every frame shows the same bird.
Preserve context as well as detail
A wider frame can show where the bird was feeding or how it related to nearby birds. That context helps interpret the observation, especially when apparent size is difficult to assess. It does not turn a distant object into a reliable ruler. Note whether a comparison bird was at roughly the same distance rather than assuming the photograph establishes exact dimensions.
Take a written note about sounds, movement and viewing conditions that the image misses. A photograph of a bird on a branch does not document an earlier call unless you connected the call to that individual during the encounter. Distinguish what the camera recorded from what you observed directly. Both can contribute, but they answer different questions.
Keep an original you can revisit
Retain the original file before making a sharing copy. Cropping can make the bird easier to see, but it can also remove context or important body parts. Strong sharpening, noise reduction or color changes can create misleading edges and patterns. For identification, prefer a natural rendering that stays faithful to the recorded image, and explain substantial processing when relevant.
File dates and names help connect the picture with the sighting. Check that the camera’s clock is reasonable, especially after changing batteries or traveling. Keep a note of any known clock error rather than rewriting the memory of the encounter around incorrect metadata. A simple folder or filename reference in your observation log can preserve the connection clearly.
Select images that add different evidence
When asking for help, choose a few useful frames instead of an entire burst. Include the clearest whole-bird view and any genuinely different angle. Explain which feature or competing species you want to assess. A reviewer can then look at the relevant evidence without needing to infer why several nearly identical images were included. If a frame shows several birds, identify the individual you mean with a description of its position, while preserving an unmarked original for closer review.
Follow the requirements of the place where you share the images. eBird and Macaulay Library distinguish notes about a specific photograph from notes about the broader sighting, and require authentic encounter media from the photographer. Other services may have their own formats and permissions. Keep ownership, observation evidence and identification conclusions as separate questions.
Recognize what the image cannot settle
A blurred tail cannot demonstrate the absence of small spots. A shadowed face may conceal a pale eyebrow. Enlarging the same pixels can make them bigger without adding the missing information. Compare the image at an appropriate scale, and record unresolved features honestly. Automated identification suggestions can offer candidates, but those candidates still need to fit the visible evidence and local context.
Before publishing, review location details for sensitive birds, nests and private property. You can share a useful identification image while withholding information that would draw a crowd to a vulnerable site. If the photograph remains inconclusive, retain it with the note and a broader label. An authentic limited record gives you something sound to learn from when the next encounter supplies a better view.
Keep exploring
Your first fifteen-minute bird walk
Run a small observation session with a clear start, route and note.
Set up binoculars before the bird appears
Adjust eye spacing, eyecups, focus and diopter in a repeatable order.
Find the bird before lifting binoculars
Transfer an unaided view to binoculars using landmarks and a steady stance.