
Fieldcraft
Find the bird before lifting binoculars
Transfer an unaided view to binoculars using landmarks and a steady stance.
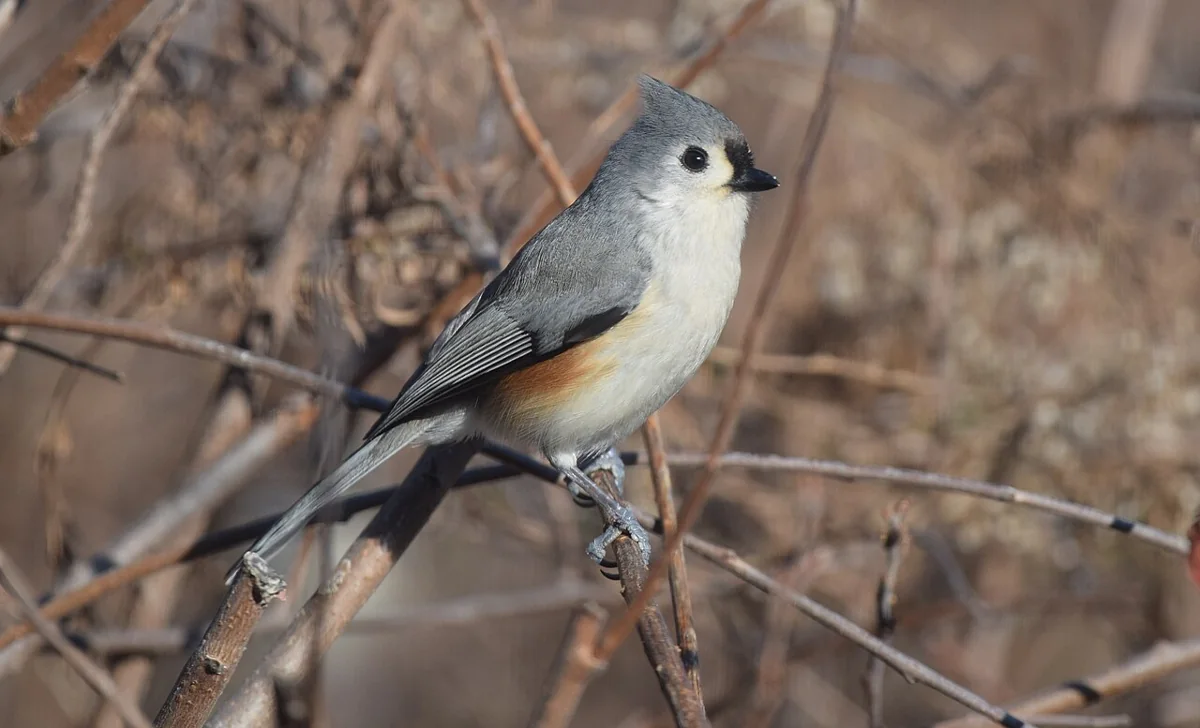
You can see the bird with your eyes, lift the binoculars and find only leaves. That common difficulty often concerns aiming rather than optical quality. Binoculars show a smaller part of the scene than your unaided eyes, and looking down at the instrument can break the connection between the bird and the place where you point it.
Practice transferring a view before asking yourself to follow a moving bird. A fixed target gives you time to learn the movement of your hands and instrument. Once the transfer becomes more consistent, use the same sequence for birds. Keep your body still and your footing secure throughout the exercise, and lower the binoculars before walking.
Remove the setup problem first
Confirm that the binoculars produce a comfortable, sharp view of a stationary object. Set the hinge spacing and eyecups for your eyes, and use the focus controls according to the manufacturer’s instructions. If you cannot see a full field or one side stays blurred, complete the setup procedure first. Aiming practice cannot correct an instrument that is uncomfortable to look through.
Choose a tree or other target at a normal viewing distance, beyond the instrument’s close-focus limit. Avoid any direction near the Sun. Pick an obvious feature, such as a fork in a branch, that you can recognize immediately when it appears in the binocular view. An indistinct patch of foliage makes it harder to know whether you aimed successfully.
Keep your gaze on the target
Look directly at the chosen feature with your unaided eyes. Keep looking at that point while bringing the binoculars to your eyes. Move the instrument into your existing line of sight rather than looking down at it and then hunting for the target again. A strap can keep the binoculars ready at a comfortable position between attempts.
If the feature appears in view, pause before turning the focus wheel. Decide whether the aiming transfer worked independently of the sharpness. Then focus as needed. Separating those two checks lets you recognize progress. Otherwise an image that is correctly aimed but slightly blurred can feel like another failure to find the target.
Repeat with a second landmark
Lower the binoculars and choose a different fixed feature nearby. It might be a pale patch of bark higher in the same tree. Find it with your eyes, hold your gaze and raise the instrument again. Alternate between the two landmarks a few times. You are practicing a repeatable movement rather than memorizing one position of your arms.
A successful transfer need not place the feature at the exact center. Finding it within the field gives you a starting point for a small correction. Avoid swinging widely from side to side while still magnified. If you have lost the scene completely, lower the binoculars and restore the unaided view. That reset is usually clearer than searching a large tree through a narrow frame. Rest briefly between attempts if your arms tire, since a strained grip can make the next transfer less controlled.
Use the branch as a location reference
When a bird appears, notice the structure around it. A bare fork, trunk junction or isolated leaf cluster can help you relocate the spot if the bird pauses or moves. Describe its position relative to that feature in your mind. The landmark remains useful even if you briefly lower the instrument to rest or check where you are standing.
Choose a reference at a similar distance when possible. A foreground twig can align with a bird far behind it and then shift dramatically as your head moves. The apparent position of the bird against distant foliage may also change when you step sideways. Keeping your feet still while transferring the view reduces that extra source of confusion.
Recover when the bird moves
A bird can leave the field faster than you can follow. Lower the binoculars enough to recover the broader scene, locate the bird with your eyes and repeat the transfer. If you can still follow it inside the field, use small controlled movements. Avoid turning every departure into a prolonged search through empty branches after the bird has already left the tree.
Sometimes the bird remains visible only intermittently. Watch the direction of travel and the next likely opening without assuming it must emerge there. A moving leaf can resemble the bird’s movement. If you lose the individual among several birds, say so in your notes. The next bird you find may have different markings from the one you first followed.
Learn to give directions another person can use
When observing with someone else, identify the tree or structure before describing the bird’s position within it. Agree on an obvious landmark, then add a simple direction such as above, below or to one side. A clock-face description can help if both people share the same reference. Check that your companion is looking at the correct part of the scene.
People standing apart may see different alignments of branches. An instruction that works from your position can be confusing from another bench or a lower seated viewpoint. Ask which landmarks the other observer can see and adjust the description. A patient reference to the visible structure helps more than repeating an increasingly urgent direction toward “that branch.”
Recognize the limits of the view
Higher magnification does not automatically make acquisition easier. It generally shows a narrower scene and magnifies hand movement. Use the instrument you have to learn a smooth transfer, and assess any equipment change against your actual needs. A wider field or steadier grip can matter as much as the apparent size of the bird in view.
If the bird remains behind foliage, binoculars cannot restore details that are physically obscured. Wait for an ordinary movement or retain a limited description. Keep the bird’s comfort and your safe position ahead of a closer view. The aiming skill gives you more opportunities to observe visible details while leaving room for encounters that simply end too soon. Practice again on another stationary target.
Keep exploring
Your first fifteen-minute bird walk
Run a small observation session with a clear start, route and note.
Set up binoculars before the bird appears
Adjust eye spacing, eyecups, focus and diopter in a repeatable order.
Write field notes you can use later
Separate observed evidence, uncertainty and interpretation.