
Fieldcraft
Set up binoculars before the bird appears
Adjust eye spacing, eyecups, focus and diopter in a repeatable order.
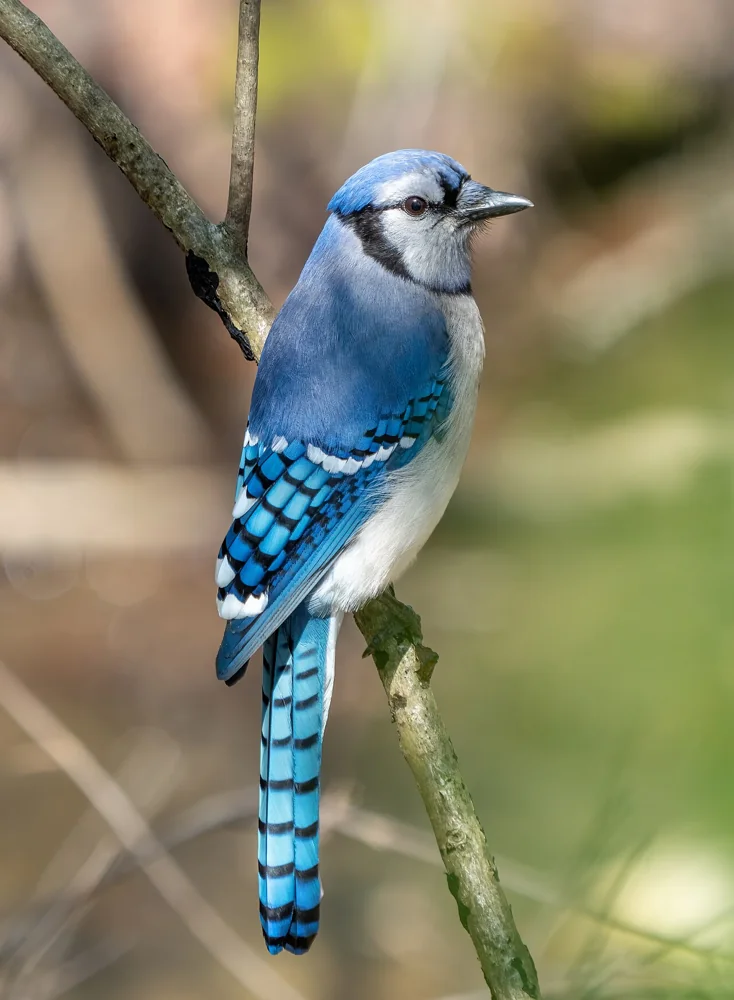
Binoculars are easier to learn with a stationary branch than with a bird moving through leaves. Before your next short walk, take a few minutes to make the view comfortable and sharp. You are adjusting several things that solve different problems. The hinge positions the two barrels for your eyes, the eyecups control eye distance, and the focus system sharpens the image.
Most center-focus birding binoculars also have a diopter adjustment that compensates for a difference between your eyes. Its position and operation vary by model. Find the instructions for your instrument before turning unfamiliar rings or trying to release a lock. A borrowed pair may be perfectly sound while still being adjusted for someone else. Start with fit and focus before judging its usefulness.
Choose a comfortable stationary target
Stand or sit securely and choose a fixed object with fine contrast, such as textured bark or a distant sign. Use a target beyond the binoculars’ minimum focusing distance. Avoid aiming anywhere near the Sun. Looking toward the Sun through binoculars can cause serious eye injury, and an ordinary focus exercise never requires that direction. A shaded wall or tree is usually easier to study.
Keep the strap arranged so the binoculars cannot fall as you work. You can rest your elbows against your body or support them comfortably while seated. Focus on one adjustment at a time. If you turn the hinge, eyecups, focus wheel and diopter together, a later improvement or problem becomes difficult to explain. A stationary target gives you time to observe what each change actually does.
Set the distance between the barrels
Bring the binoculars to your eyes and move the hinge gradually until the two views merge into one comfortable circular field. The barrels need to align with the spacing of your eyes. If they are too close or too far apart, you may see overlapping circles, dark edges or a view that requires effort to combine. Small hinge adjustments can make a substantial difference.
Check this fit again after lowering and raising the instrument. A loose hinge or a different grip may change the setting. You should be able to find the same view repeatedly without pressing the eyepieces hard against your face. If you cannot obtain a comfortable merged image despite correct spacing, check the manual and consider asking a knowledgeable retailer or repair service to examine the instrument.
Adjust the eyecups for your eye position
Eyecups help place your eyes at the distance where you can see the intended field. People wearing glasses commonly retract the cups, while people using binoculars without glasses commonly extend them. Those are starting positions. Your face, glasses and the instrument’s available eye relief affect the actual fit, and some models offer intermediate positions that work better than either extreme.
If dark patches drift across the view as your eyes move, experiment gently with eye distance and alignment. If you see only a small central area, check whether the glasses or extended cups place your eyes too far back. Keep your usual corrective lenses available while testing. The purpose is a comfortable, accessible field of view, and another person’s preferred cup position may not suit you.
Balance the focus between your eyes
For a common arrangement with the diopter on the right side, cover the right objective lens and use the central wheel to sharpen the left-eye view of your stationary target. Then cover the left objective and adjust the right diopter until the same target is sharp for the right eye. Follow the manufacturer’s sequence if your instrument places the adjustment elsewhere or uses a different mechanism.
Covering an objective lets you keep both eyes comfortably open, and avoids putting fingers against the lens surface. Be careful not to turn the central wheel during the second part of the adjustment. That would change the reference you just established. Once each side is sharp for its eye, uncover both objectives and inspect the combined image. Lock the diopter if the instrument provides that feature.
Check a second target distance
After setting the diopter, use the central focus wheel for ordinary changes in viewing distance. Choose another stationary object farther away, then return to the original target. Both eyes should remain comfortable as you refocus. The diopter normally stays at its personal setting until it is moved accidentally, another person uses the binoculars, or your visual requirements change.
Record the diopter setting if that helps you restore it after lending the instrument. Treat the number as a convenient reference for that pair of binoculars. The printed scale does not make the setting transferable to another model. If your grip repeatedly catches the adjustment, check for a lock and learn where your fingers can rest without disturbing it.
Match the symptom to the adjustment
A blurry image in both eyes may simply require central focusing or a target farther than the close-focus limit. One consistently blurry side points you back toward the diopter sequence. Blackouts or a restricted field suggest eye placement or barrel spacing. Losing the bird entirely after raising the binoculars is usually an aiming problem, which needs a different practice exercise.
If the view remains doubled, uncomfortable or impossible to sharpen after checking the instructions, stop straining to make it work. Optical alignment or another equipment problem can require professional attention. Borrowing a correctly adjusted pair for comparison may help you describe the issue. Avoid taking the binoculars apart, and keep cleaning or maintenance within the manufacturer’s guidance.
Finish before the moving subject arrives
Practice lowering and raising the binoculars a few times while keeping your chosen target in view. Confirm that the hinge, cups and diopter stay where you put them. Then put the instrument down and look around with your unaided eyes. You can now spend the next bird encounter on locating and observing, with fewer competing adjustments demanding your attention.
Comfortable setup supports observation, but it does not remove distance, foliage, poor light or movement from the scene. When a bird remains unclear, a shorter unaided description may be more dependable than prolonged effort through a difficult view. Carry the setup sequence with you as a way to restore the instrument, then let the actual conditions determine what details you can reasonably record.
Keep exploring
Your first fifteen-minute bird walk
Run a small observation session with a clear start, route and note.
Find the bird before lifting binoculars
Transfer an unaided view to binoculars using landmarks and a steady stance.
Write field notes you can use later
Separate observed evidence, uncertainty and interpretation.